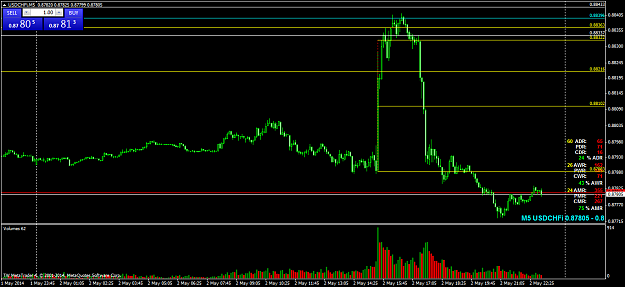
Disliked{quote} .....Yes, still trading the lower TF's but not as much. 15M, 30M, 60M have presented the opportunites of late. Not really married to any TF.. Just if the set up is correct will take trade.....Ignored
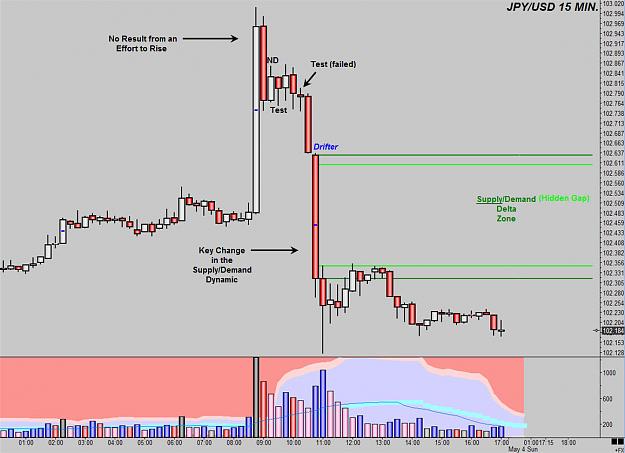
Take a look at the chart below.
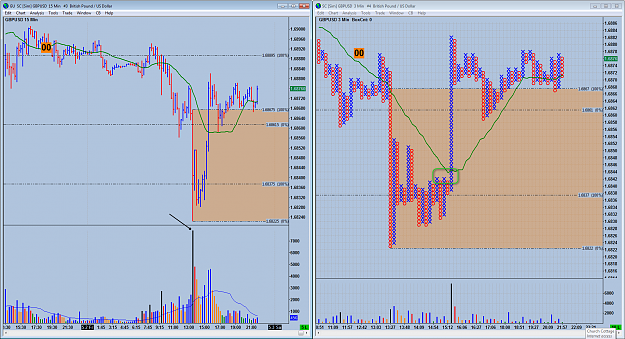
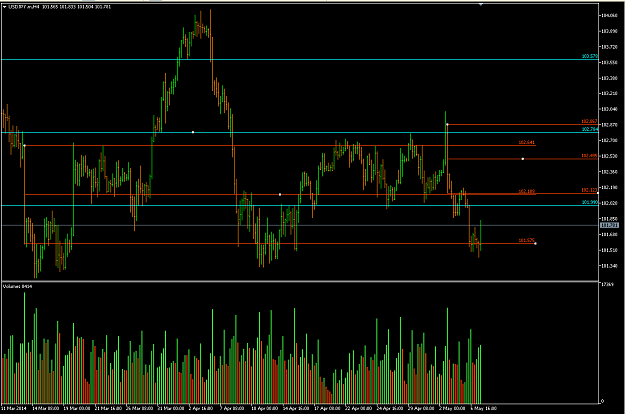
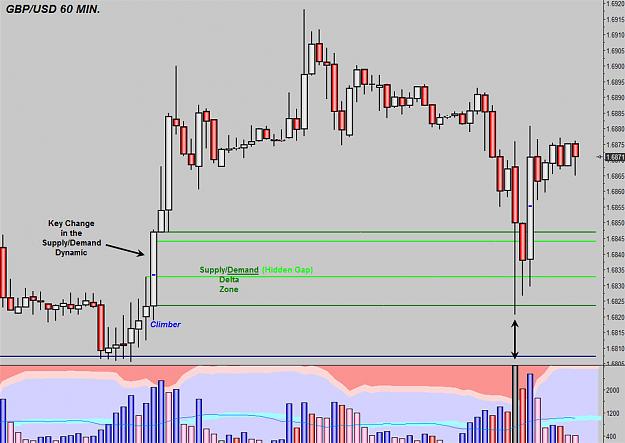
This is a 60 min chart of the GBP. Paying attention only to this chart, we are able to "find" the ideal place where we would like to see our "trade entry signal". We call it the Supply/Demand Delta Zone. We use this term mainly because Supply/Demand trading is all the rage, but the other more appropriate name is the Entry Signal Zone.
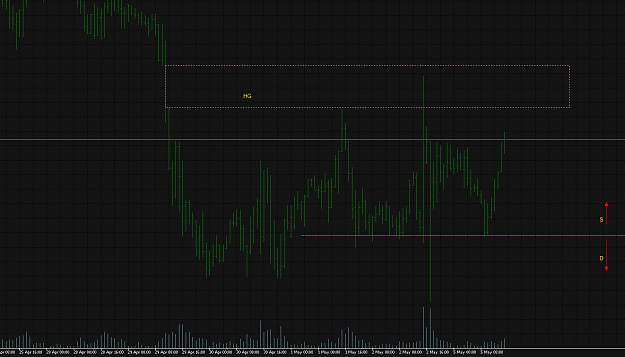
As per our belief system, we know we that the Effort to Rise (Climber), is a key change in the Supply/Demand Dynamic once we see certain Results. We see that it creates a Hidden Gap. The Hidden Gap is actually larger than shown on the picture. The Hidden Gap is the distance between the High of the interval prior to the climber and the low the the interval after it. The other "Result" we see is that the two intervals following the Effort to Rise both are white bodies (open<close) making higher highs and not lower lows. And both are closing higher. Simply put, that's a good example of strong continuation.
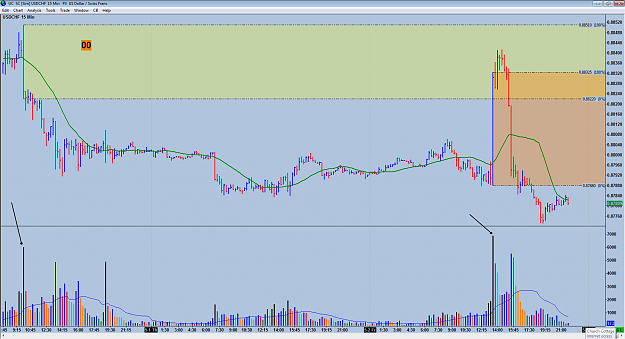
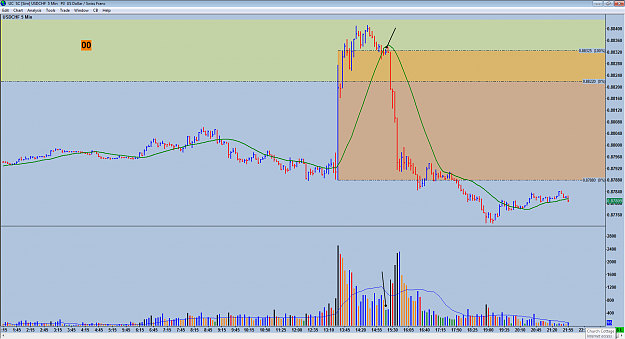
But I'm getting off track. Skip ahead to the large candle with the double sided arrow. The volume is black , which means it is the highest volume in the last 40 intervals. It is also into the salmon colored region, telling us that it is Ultra High. This interval is a ShakeOut. We could even call this our "Start Point". So here's the rub: no actual trade entry signal sets up here. Although an interval like that may be enough for Tom, most traders would want to see more. So a 60 minute timeframe trader, likely would not get in. However, we can be sure that the long shadows mean that something set up on a smaller time frame, and within this zone.
It's Friday night and I'm just rambling.
I still believe in the words of Tom Williams, when he said that professionals are active on all time frames. So if you can figure out where they were active before and where they are likely to be active again, then why bother with multiple timeframes? This may be why. But I'm not ready to divorce myself from the single timeframe method just yet.
Attached Image (click to enlarge)
Without VSA, you're playing checkers while the Smart Money plays chess.