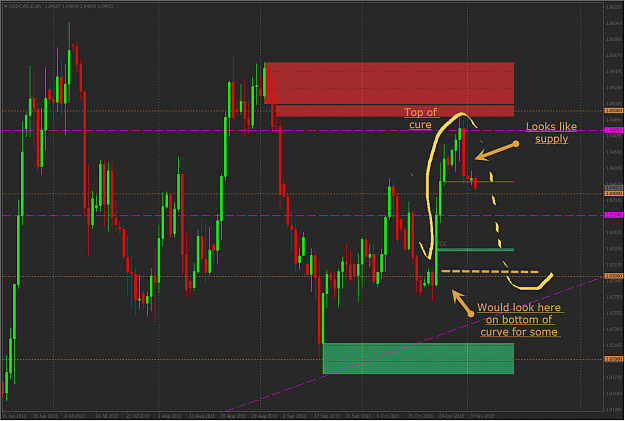
Disliked{quote} Hi GilaMONSTER, Yr post 240 did encourage questions, which I did desperately hv but hesitated due to disruptions to others, so here it goes. I hv been reading n looking at charts on every post but hv never understood why the zone levels are different frm how I hv applied them, n I hv been using the SupplyDemand methodology for a short while now. The way i understand it, a S zone will happen at a swing high n if that zone is retraced back to, that S zone is confirmed n hence getting ready for a Short entry with the latest strong Demand level...Ignored
- Identifying levels is quite easy, you just have to look at strong price movement. But drawing precisely a level is harder, so it might be normal that you do not draw the levels exactly the same as we do. You might need some training. Here's one of my previous post about it: http://www.forexfactory.com/showthre...55#post7037055
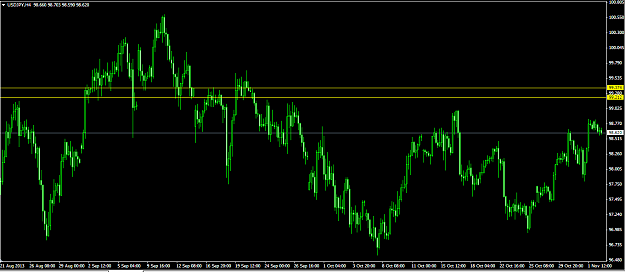
- S&D levels should work on any TF, so it's up to you do decide where to draw the levels. The way I do it: I draw the levels on a 1h TF, and sometimes refine the entry of the level on a 30min TF.
- You are right, RBD and DBR are better levels than RBR and DBD. But you should only take fresh levels!