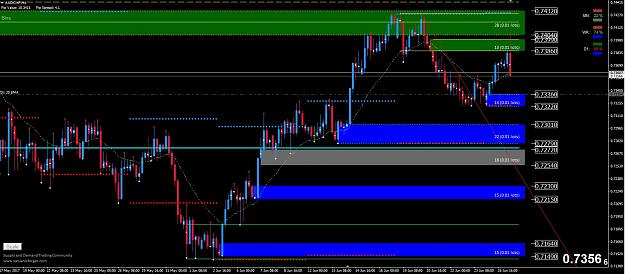
Hey guys, I have a question regarding the WOW Trade:
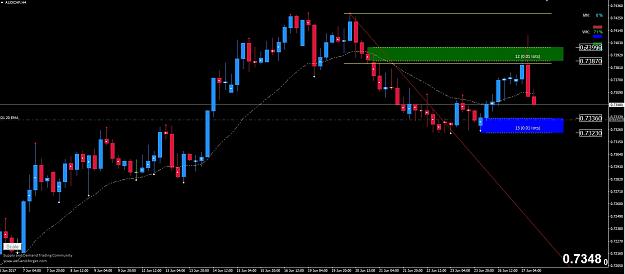
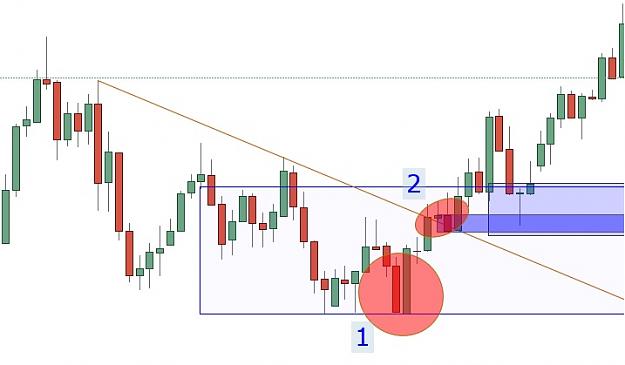
Which of these Demand Zones marked with circles causes the break of the descending Trendline?
Circle 1 or Circle 2?
Since Circle 1 couldn't make a Full Candle above the Trendline I'd go with Circle 2. Am I correct?
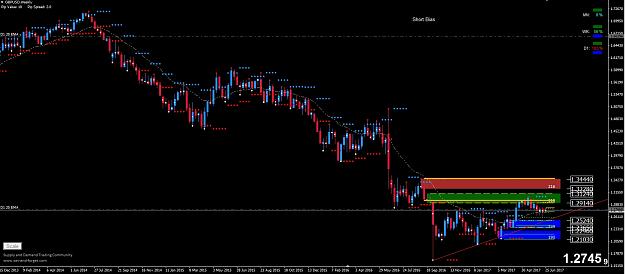
Which of these Demand Zones marked with circles causes the break of the descending Trendline?
Circle 1 or Circle 2?
Since Circle 1 couldn't make a Full Candle above the Trendline I'd go with Circle 2. Am I correct?
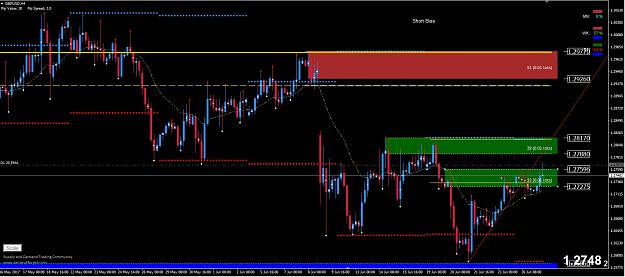
Attached Image (click to enlarge)