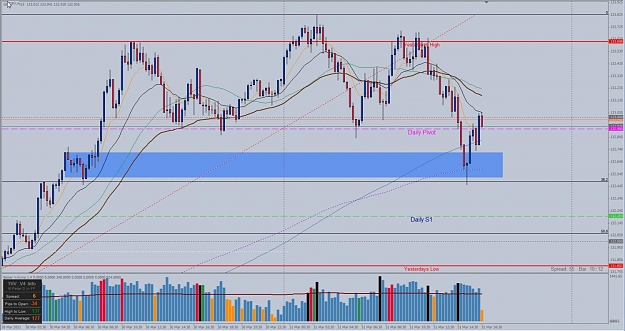
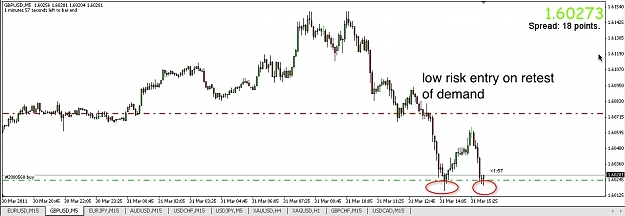
I actually missed this setup after i'd already marked the area, the trouble with trading and working in tandem.
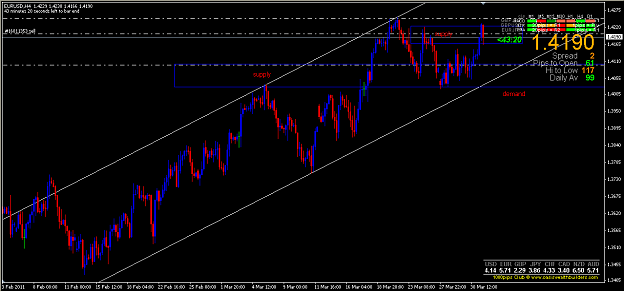
Please tell me if this is not relevant in your thread Red but the purple dotted line is the H1 62 ema (represented on the M15 timeframe), it's a well used ma as floating S+R. With the 38 fib beneath it, the pin/hammer, this seems to me about as "no brain" as you could get in a setup.
If I have highlighted the demand zone correctly then i'm happy that this approach is going to add another tool to my kitbag which could really push my trading on. I should have stopped by long ago.
Thanks all, Trotty.
Attached Image (click to enlarge)