These are the results of the tests for each chart and the corresponding set file. Two of them I had to add multiple instances of the indicator with different set files and used the secondary lines to close the trades (as discussed in the original rules)
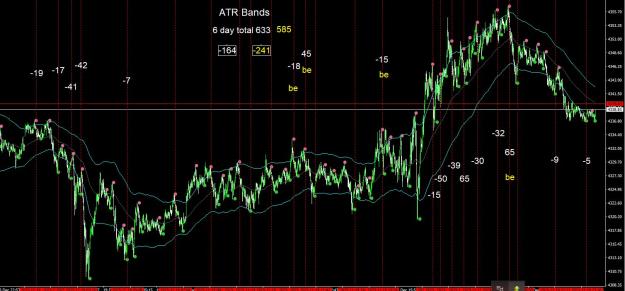
In the Math Trader 7 chart I had a third instance of the indicator with the ATR Band Multiplier set to 0 in order to get a mid line.


In the Math Trader 7 chart I had a third instance of the indicator with the ATR Band Multiplier set to 0 in order to get a mid line.
Attached Image (click to enlarge)
Attached Image (click to enlarge)
Attached Image (click to enlarge)
Attached Image (click to enlarge)
Attached Image (click to enlarge)
Attached Image (click to enlarge)
Attached Image (click to enlarge)