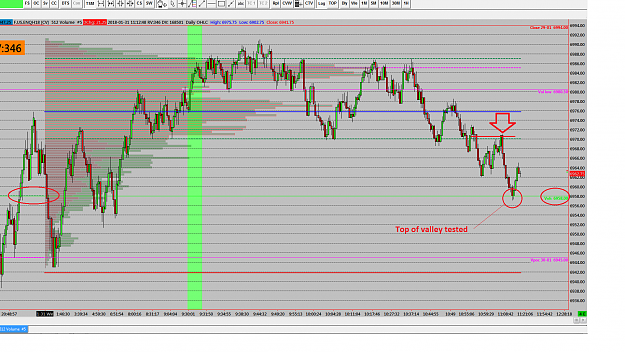
I don't really want to bear the wrath of JT with any EW postings, but just to try to clear up the 123's which go on to fail with the aid of a picture;

Ok, so you'll never see a chart so uniform and clean, but basically that is a 5w count. The main pullbacks (corrective waves - 2&4) will usually be in 3w (abc)
Now - this 'abc' also looks like a 123, that triggers, except they then fail, as the return to main (impulse) trend resumes. That's why it is best to place orders at (or immediately before) the prior S/D zones. That way you should get a reaction, enough for safety at least.
Again, nothing is set in stone, but they are not failproof, by any means. Well, no-one ever said that it was easy!)
Attached Image (click to enlarge)
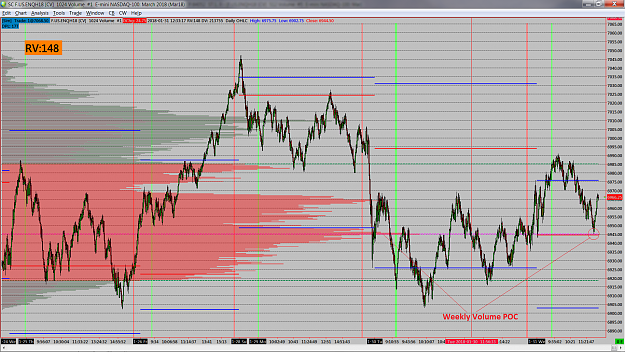
Ok, so you'll never see a chart so uniform and clean, but basically that is a 5w count. The main pullbacks (corrective waves - 2&4) will usually be in 3w (abc)
Now - this 'abc' also looks like a 123, that triggers, except they then fail, as the return to main (impulse) trend resumes. That's why it is best to place orders at (or immediately before) the prior S/D zones. That way you should get a reaction, enough for safety at least.
Again, nothing is set in stone, but they are not failproof, by any means. Well, no-one ever said that it was easy!)
GoFundMe -stage-4-glioma-brain-cancer-fighter (link in my profile)
1