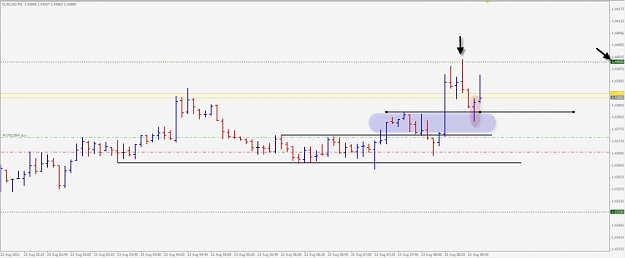
I however dont tend to pay too much attention to it or allow it to affect my decisions of when to exit, why have an exit at a certain level simply because it is 2:1 or 3:1 R:R ?. I simply look at obvious support and resistance areas of where to get out of my trades or to move stops. I will however make use of break even to protect against moves away from support or resistance. As I did with my EG short. It was at support and probably a good area to exit. So the decision is either exit and take my profits or enter a break even and attempt to hold it, protecting myself from any bounce from support. I chose on this occasion to use BE rather than simply taking profit.
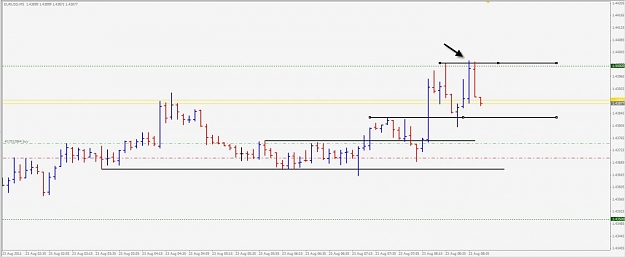
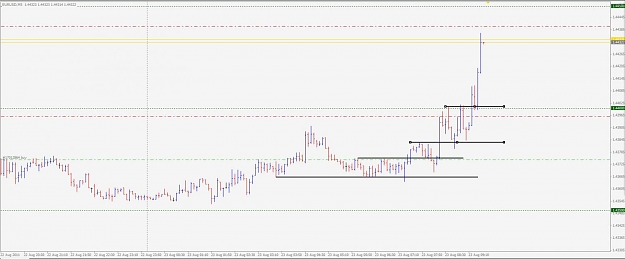
Key horizontal levels time and time again will act as support and resistance so to me its logical to use those areas as targets for both entry and exit, or areas to move stops.
In saying that if the Risk is way out compared to my potential support and resistance target areas vs reward I simply will not take the trade or I will reduce my position sizing to allow for the wider risk. Position sizing and "Risk Managemement" is the key to successful trading. If you can not grasp this concept then step away from live trading until you can.
Twitter - DarkWolF@OzForexTrader - Facebook Page - link in post 1