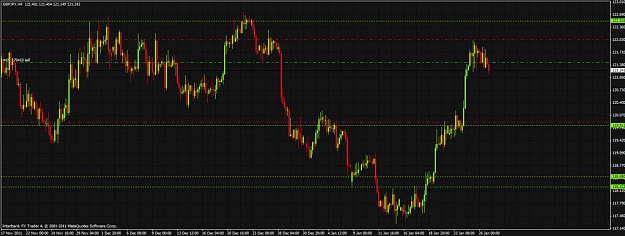
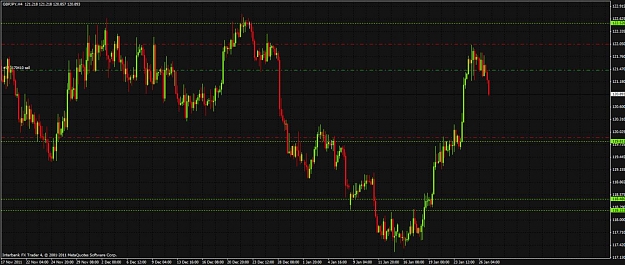
I am not anywhere where I can upload a chart but this is so obvious you will not have any trouble seeing it......
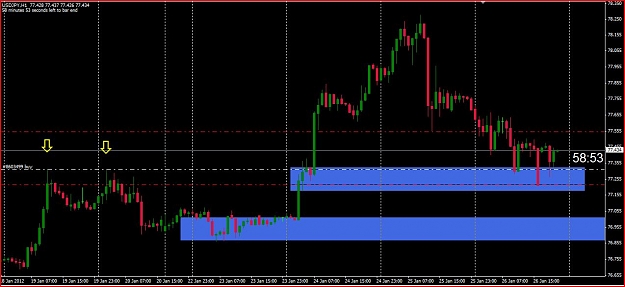
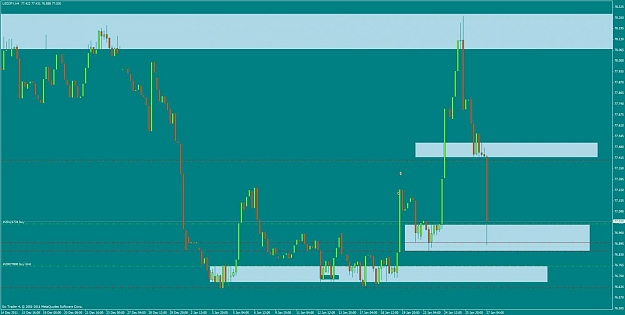
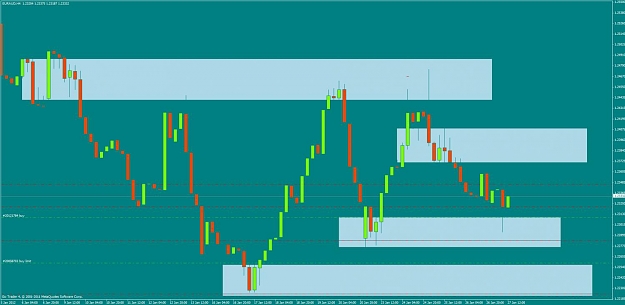
Please look at the AUDUSD 5 M charts. This is a near perfect RISE/BASE/DROP. The demand zone is .0639 - .0632.
Price left this zone in near perfect fashion. Based, and then dropped back into the zone aggressively. This aggressive move back into the zone tells me that the set up has a high % of working. (Meandering PA back into a zone has a lower % of working) From that point there was a solid bounce long to .0659... So plenty of room for a 2:1 R/R
Picking the target on this trade you can see an area of support resistance around the .0658. Yes there is a definite difference between Support / Resistance and Supply / Demand. I think this chart shows that very clearly.
I have always been an S/R trader till I discovered Supply Demand. I will admit it took a while for me to get that there really is a difference. I have read some past reviews about this Sam Seiden's methods. There are some who will state that this is just a glorified view of Support Resistance...
“I could not disagree more!!!!” They are different.
Just some observations I thought I would share.
TSD
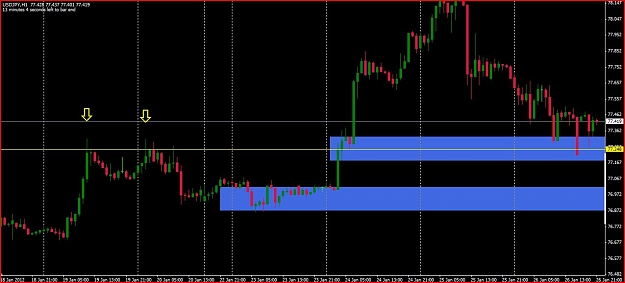